
In the first article in this two-part series, we looked at how to get ready for spring planting. We covered the use of a planting calendar, how to choose which crops to plant, and how and whether to start spring vegetables as seeds or seedlings.
But we have a little more prep to do before we’re ready to put those seeds or seedlings into the ground. Old-time gardeners love to share this piece of folk wisdom: “Don’t put a ten-dollar plant in a ten-cent hole.” Meaning, the quality of the soil is at least as important as the quality of the vegetation going into it.
In keeping with this advice, in this article, we’ll focus on how to prepare your soil for healthy plants and bountiful harvests. You’ll learn how to transplant vegetable starts or seedlings you’ve purchased. And you’ll find out about planting spring vegetable seeds directly into your garden beds.
Preparing Garden Soil for Spring

Preparing your soil for seeds and transplants — so it contains everything your plants will need to grow and thrive — is essential for successful food gardening. Sometimes this means adding things to the soil, such as fertilizer, minerals, or soil conditioners like compost.
You can find out what components are missing, what you have enough of, and what’s in overabundance by testing the soil. This is necessary only if you’ll be planting directly in the ground or using your own soil. If you buy a premade potting mix or growing mix, the manufacturer will probably have taken care of all that for you.
The two main things to test your soil for are pH and nutrient content. You can purchase test kits at your local garden center, or online. Some good options include test kits from MySoil and Luster Leaf, as well as a soil pH Meter by Sonkir.
If you live in the US, you can also request soil testing from your local cooperative extension service, which is typically run by a state university. Here’s a list of state programs. Some may require a fee, which is usually under $15. They will give you instructions for collecting the samples, and often provide a box for you to fill with soil. You will likely receive a report on soil concentrations of phosphorus, potassium, magnesium, and calcium, as well as pH. Some tests may also include other micronutrients like iron and copper.
In addition to testing for what should be there, you may also want to test for potential soil contaminants, such as lead. As not all cooperative extensions do this kind of testing, you may need to work directly with a lab. Here’s a list of testing labs in the US and Canada.
And also check out this in-depth report on soil testing in urban agriculture, including “community and school gardens and small farms in cities.” It offers guidance on taking soil samples and questions to ask when choosing a lab.
Maintaining & Improving Soil
Once you’ve tested your soil, you’ll know what kinds of soil amendments to add in order to give your plants the nutrients they’ll need. But you also have to take into consideration the type of soil you have to work with. The simplest way to determine what kind of soil you have is what’s called a feel test. Simply rub a moist sample of soil between your fingers. Sand will feel gritty, silt will feel smooth, and clay will feel sticky.
The ideal soil type is called loam, which is typically made up of equal parts sand, silt, and clay. You know you’ve got loamy soil that’s good and fertile when it crumbles easily in your hand, won’t ball up when you grab a handful, or crack into shards when dry.
If your garden soil isn’t picture-perfect loam, that’s not a deal-breaker. Depending on the geology and history of your patch of land, your soil might be predominantly clay, sand, or silt. (Some soils are mostly rocky, which is a big problem if the rocks are big, and the growing area is large. Garden plants are typically too fragile to grow in very rocky soil. Also, too much sand won’t work either. If your backyard could have been the location for the latest Dune movie, consider container gardening or raised beds.)
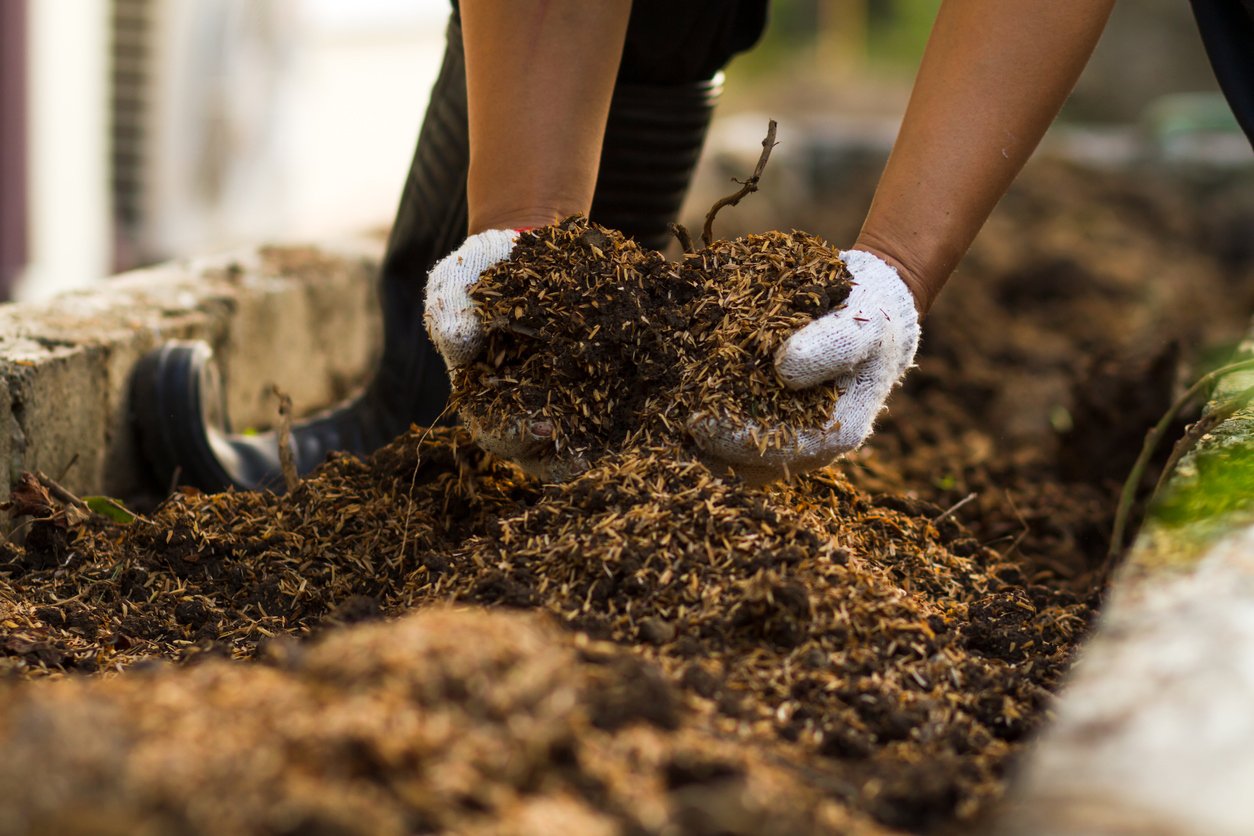
The best way to improve soil is by adding organic matter — commercial compost or your own composted kitchen scraps, for example. If the soil is dry, work in the organic matter by gently breaking it up with a gardening tool like a garden fork or deep spader. (If you like, you can pretend you’re a really big earthworm with opposable thumbs.) Breaking up compacted soil can allow for plants to grow better, especially those with deep root systems.
Adding Nutrients to Soil in Your Spring Garden
Depending on the results of your soil test, you may or may not want to add nutrients. You probably won’t need to do this if you’re using commercial potting soil, although some supplementation may be helpful if a plant is failing to thrive. (It’s probably better than standing over your tomato plant blowing a coach’s whistle and shouting, “C’mon, you got this!”)
If you do add nutrients, I encourage you to make them organic rather than synthetic. Organic nutrients feed your plants indirectly, by supplying food to beneficial soil organisms that convert organic matter into nutrients for plants. One example is compost, preferably local, and if you’re able, made from your own kitchen scraps.
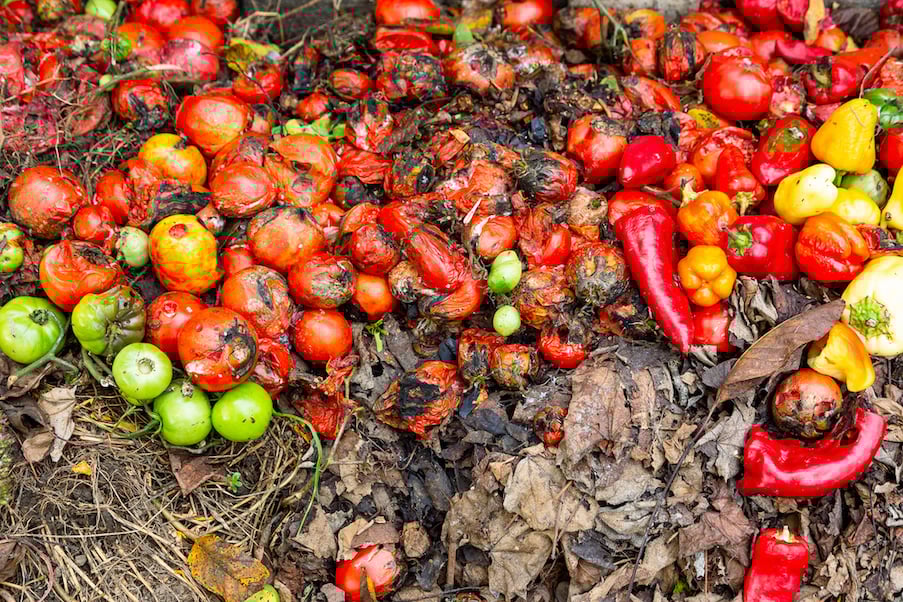
You can also use various mulches, which could be chipped or shredded or composted plant material such as spring clean-up leaf litter, seaweed (if you have access to a beach), or even grass clippings and pulled weeds — as long as they don’t contain synthetic fertilizers, weed-killing applications, or live seeds that will colonize your garden bed.
Seasoned manures can also add organic nutrients to your soil, although if you want a vegan garden (that is, without any animal product inputs), you’ll avoid animal manures and instead choose green manures or kelp meal-based fertilizers. In general, your organic matter should make up about one-quarter of your overall soil mixture and should be thoroughly mixed into your existing soil.
No-Till and Low-Till Spring Gardening
One of the reasons gardening can be labor intensive is that you’re basically fighting against nature. Think about it — if you clear a patch of ground, it won’t stay clear for long. First, the weeds will pop up, then grasses. Next, brambles and thickets, followed by saplings and eventually trees. Basically, bare earth is like a wound, and the Earth wants to slap on a bandage and heal as quickly and thoroughly as possible.
So when you start each season by plowing or tilling the soil, you’re returning the ground to that injured state. When it rains, you’ll get erosion. The weeds that are much more aggressive and better adapted than your delicious vegetables will try to outcompete them for space, nutrients, and sunlight.
Mechanical tilling can also kill the earthworms that are busily making soil for you by converting dirt into castings. It also damages the soil structure, preventing aeration and efficient drainage.
So once your spring garden beds are established, consider moving to a no-till or low-till protocol. You can choose from various methods, including adding layers of organic material, growing cover crops to prevent erosion and weeds, composting vigorously, overwintering with a thick layer of mulch, and avoiding stepping on beds so you don’t compact the soil and make tilling necessary.
Spring Perennials
Many spring vegetables are perennial, so you may (depending on your climate) be able to plant them once for year-after-year harvests without repeatedly disturbing the soil. A great book on perennial vegetable gardening is Eric Toensmeier’s Perennial Vegetables: From Artichoke to Zuiki Taro, a Gardener’s Guide to Over 100 Delicious, Easy-to-grow Edibles.
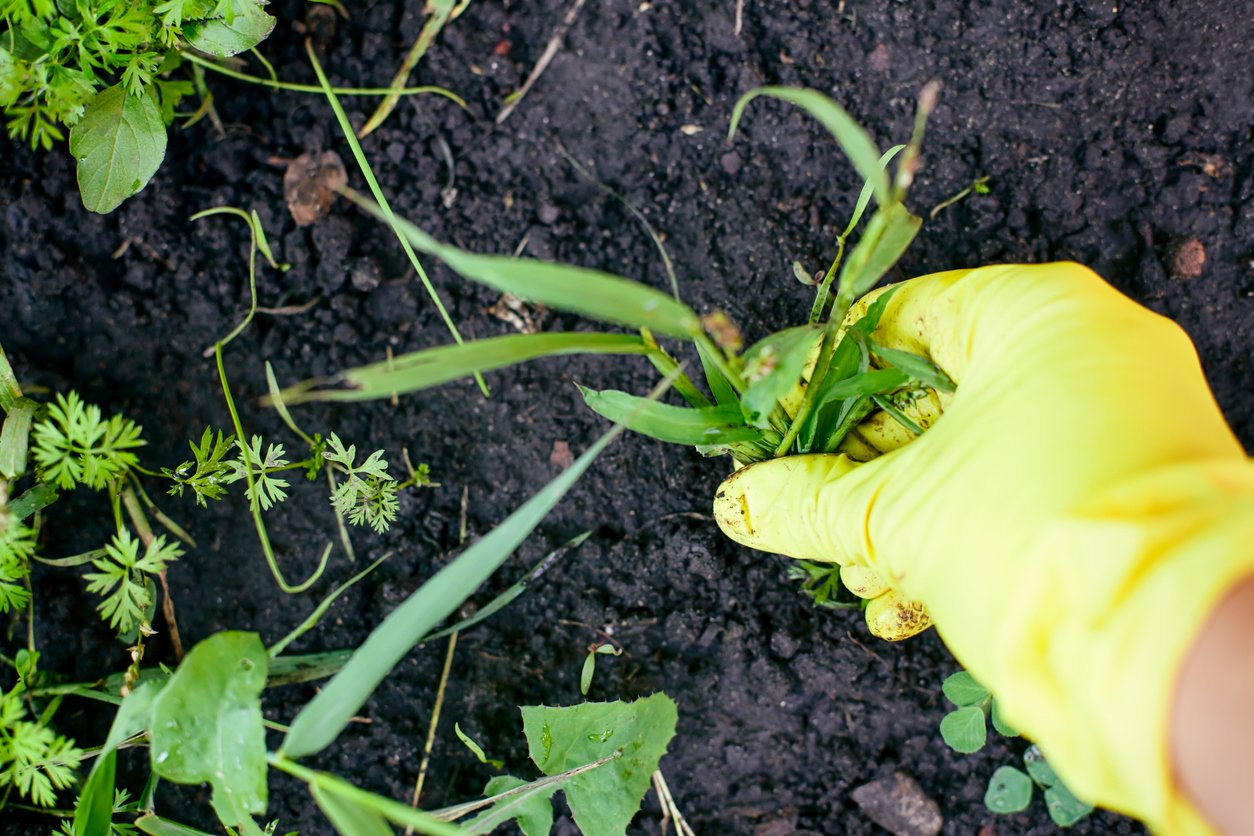
Weeding Your Garden
Also, just as you don’t want to wait to brush your teeth until an hour before your dental appointment, don’t let the weeds build up during the off-season. Unless your soil freezes for part of the year, add weeding to your year-round outdoor maintenance routine — that way weeds won’t have a chance to set seed and take over your beds. Here are some common weeds, along with tips for identifying them.
Sowing Seeds or Seedlings
Once your beds are prepared, you’re ready to begin the growing process. You can sow seedlings or starts that you either bought from a garden center or grew yourself (see part one for instructions on choosing plants for your garden), or sow seeds directly into the prepared soil.
Transplanting Seedlings for the Spring
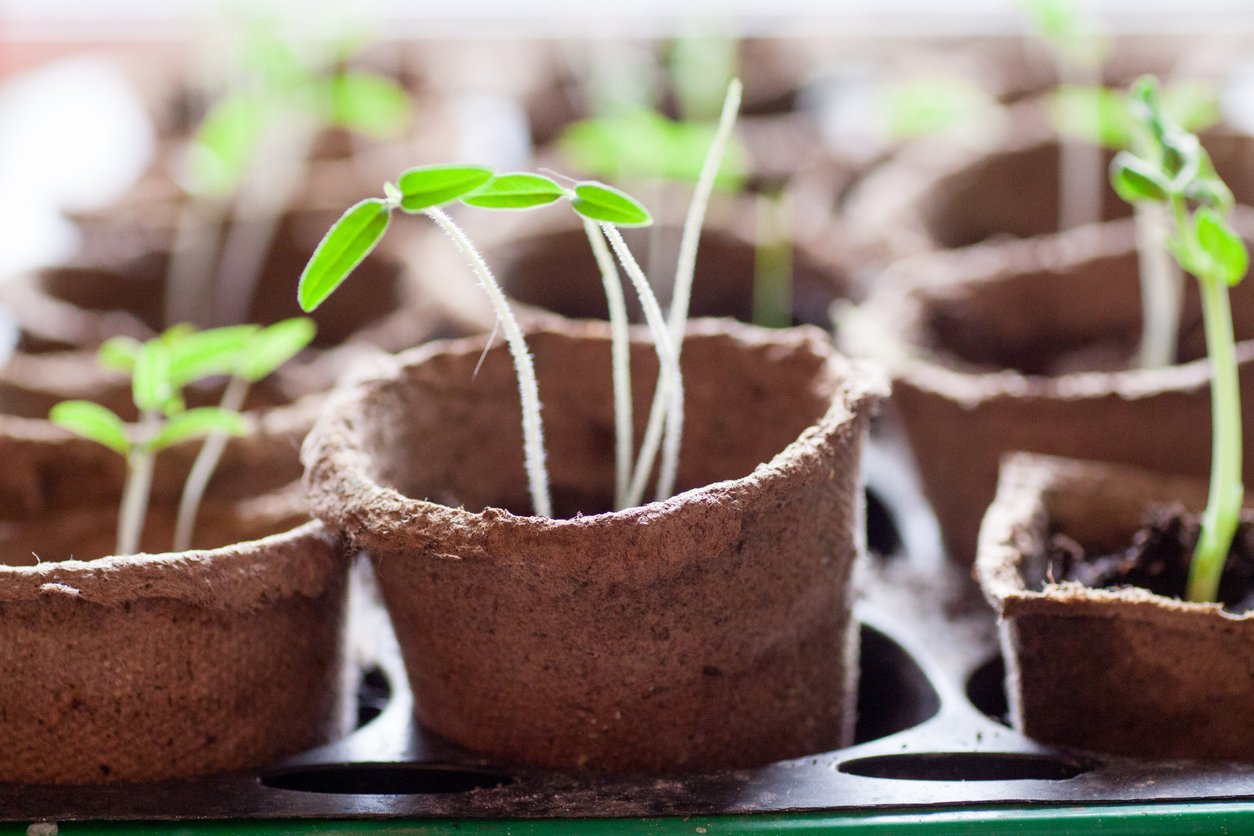
Whether you will be starting your own seeds indoors or buying seedlings or veggie starts, it’s a good idea to prepare certain spring starts for the real world before planting them outdoors. This ensures that they’ll be strong enough to survive outdoors and exposed to the elements (as opposed to the cushy, controlled environment they grew up in).
For those plants that need to get used to life outside, set them outside in the shade, protected from wind, each day for about a week. Start with just one to two hours, and then gradually increase their time outside over the course of a week before transplanting.
When you’re ready to transplant seedlings or starts into the ground (or container), a tool like a garden trowel can make the job quicker, neater, and easier.
Direct Seeding
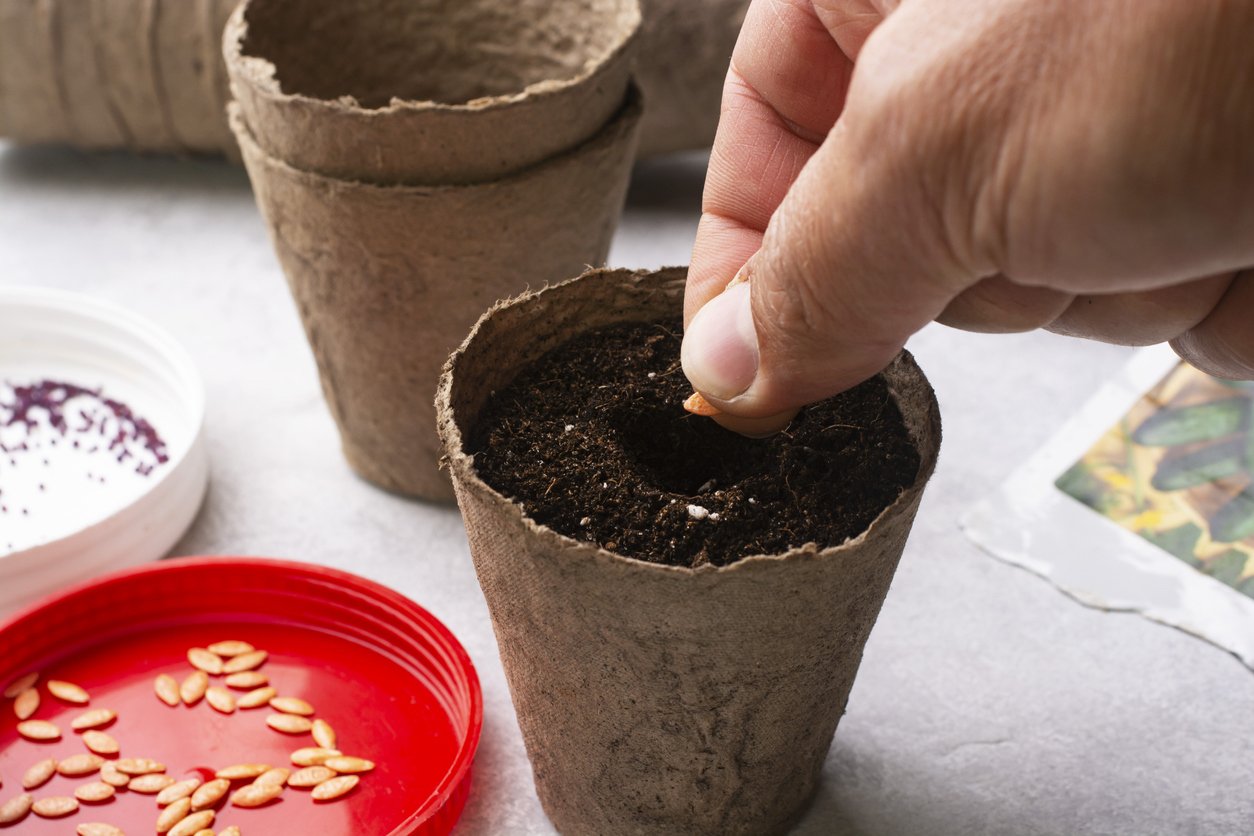
Note that not all plants require — or will even survive — transplanting. Some do better directly sown, going straight from the seed packet into the wild world of your garden. These include root veggies and other plants with sensitive root systems that do not like to be disturbed.
You can also sometimes skip the transplanting process even for plants that do well with it. As long as the days and nights are warm enough, your growing season is sufficiently long, and the soil is the right temperature at the time of sowing, you can achieve decent germination rates without the indoor prep.
Some vegetable seeds prefer the soil to be on the cooler side, such as fast-growing and early-season spring veggies (beans, peas, lettuce, etc.). The seed packets often indicate the ideal soil temperature for starting seeds. A soil probe thermometer can come in handy for direct seeding. And, for all of your plants, labels or stakes will remind you what you’ve planted where.
Once your plants start growing, keep an eye on them. Take note of any problems such as curling or yellow leaves, dried-up stalks, pest damage, or visible infestations. The internet offers plenty of resources that can guide you to prevent damage proactively, if possible, and nip it in the bud if it does occur. Here is an admittedly non-exhaustive list:
Organic Pest Control: What Works, What Doesn’t
Why Aren’t My Plants Growing? Common Gardening Problems Explained
Common Gardening Problems & How to Cure Them
Enjoy Your Spring Vegetable Garden
If this is your first spring garden, make sure to take time to enjoy the process, even if growing food isn’t always a straightforward and predictable endeavor. Consciously slow down, inhale deeply, and luxuriate in the smell of fertile soil, steaming mulch, and fragrant leaves, flowers, and fruit.
While we’ve shared good information to get you started in preparing garden soil for a spring vegetable garden, there are plenty more resources out there. Ultimately, your greatest teacher will be your garden itself. Take notes, pay close attention, enhance your soil regularly (whether with compost or other amendments, or by growing nitrogen-fixing cover crops), and don’t be afraid to experiment with different varieties and different methods of gardening to figure out what works best for your tastes and terroir. (That’s a fancy word for the environmental factors, including soil, climate, and sunlight, that affect the growth and taste of your crops, not a misspelled type of small, energetic dog.)
Happy spring planting, and happy harvesting!
Tell us in the comments:
- Do you practice no-till or low-till gardening?
- What is your preferred method for adding nutrients to the soil?
- What other soil or seeding tips do you have for preparing your garden for spring?
Feature Image: iStock.com/ronstik


