
Wouldn’t it be nice if a healthy meal could just make itself? Or if food would just appear in the blink of an eye, transported from the kitchen like something out of Harry Potter? You could just say, “organic, whole-grain, sugar-free, plant-based Cornish pasties, Dobby,” and within a few minutes, you’d be sitting down to a plate of steaming, savory pies.
As exciting as that fantasy world may sound, real-life doesn’t exactly work that way. And even if you did have a magical house-elf, do you really want to completely outsource the labor involved in nourishing your family? Fortunately, with the right tools and preparation, you can make mealtimes quicker and easier for yourself with a little bit of actual kitchen magic called meal prep.
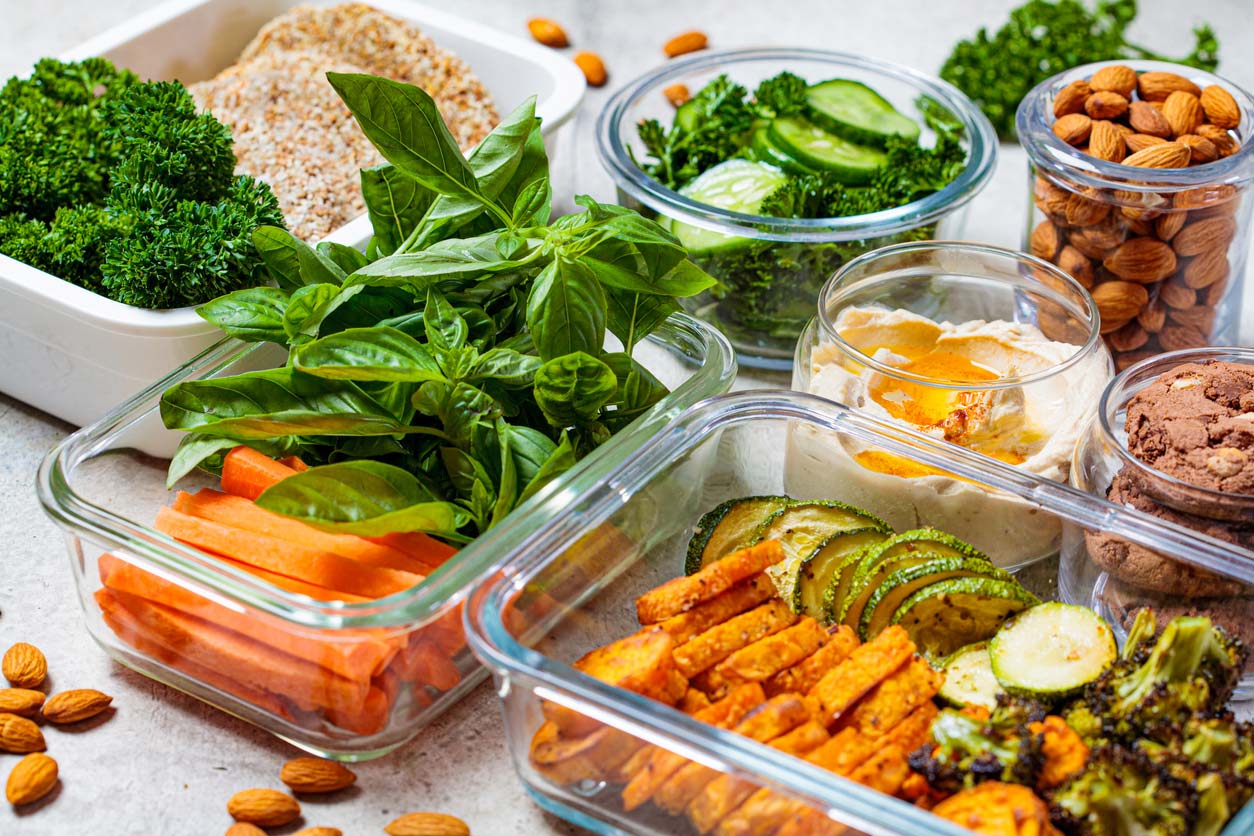
You may have seen photos of neatly lined up meals in uniform food storage containers on food blogs or the social media pages of health and fitness gurus. They make meal prep look so effortless — and maybe even intimidating — because all you see is the end result.
But while meal prep can seem daunting, especially if you’ve recently switched to a plant-based diet or find yourself cooking for multiple people, it doesn’t require complicated planning or tools. You will, however, need a small upfront investment of time. The good news is that plant-based meal prep can be done efficiently over the course of just a couple of hours. And then, it gives you an amazing return on investment, saving you oodles of precious time in the week that follows.
Benefits of Plant-Based Meal Prep
When you prepare food ahead of time, you’ll spend less time in the kitchen overall — and have more time to do other things you enjoy or need to do. You’ll set yourself up so you can have satisfying and healthy meals on the table in minutes, any day of the week. And if you get short on time or energy in the middle of a busy week, you’ll be less likely to lean on junk food, fast food, or convenience foods.
You’ll also find that you can save big money since meal prep lets you base your diet around nourishing staples and spend less on eating out and on convenience foods. And by going plant-based, you can cut down on food waste, too, since plant-based foods tend to spoil less rapidly than animal-based foods do.
So if you want to get started with (or become even more adept at) plant-based meal prepping, you’re in the right place! Here are some steps that can make it work for you.
Step 1: Take Inventory
First off, you’ll need to take inventory of what you have to work with. A good place to start is the pantry. What staples do you want to always have on hand? Pantry foods like beans, grains, and pasta, are a great jumping-off point for plant-based meal prep. Since pantry foods last for a long time, they are good choices to buy in bulk and keep stocked up, so you always have them around when you need them. Many pantry foods, such as legumes and whole grains, can be cooked in large batches and can then serve as a base for a variety of different meals.
If you’re worried about a lack of variety, rest easy: the same pot of black beans, for example, can contribute to dishes as diverse as beans and rice, fresh corn and avocado salad, and even black bean brownies. The same goes for versatile grains like quinoa and millet. If you don’t have much in the way of pantry foods when you begin to meal prep, think about what you can regularly stock up on to prepare. (This article will give you a helpful list to work from if you’re not sure where to start.)
You’ll also want to be sure you have the tools and appliances you need. There are very few “must-haves,” but plenty of helpful ones to consider. For guidance on kitchen tools and appliances you may need, click here.
Step 2: Plan Your Meals
Now comes the fun part — choosing meals! You can source your meal ideas from anywhere you want: food blogs, cookbooks, family recipes, or your own improvisational instincts. You’ll also find five recipes at the bottom of this article to get you started.
If you have kids or grandkids, this is a perfect time to get them interested and involved. Chances are, if they help pick out a recipe, they’ll be more likely to eat it once it’s in front of them.
When it comes to choosing meals for a given week, it’s best to pick those that share some of the same main ingredients, so you can bulk cook those ingredients and divide them among the meals. If you’re unsure of a recipe, make a single batch first, and see if you and your family give it a thumbs up before making it in bulk or adding it to a regular cooking rotation.
Step 3: Make a Shopping List & Buy Ingredients
Next, depending on what pantry staples you have on hand, and what you’re planning, you’ll need to make a shopping list. Use the recipes you’ve chosen as a reference. Be sure to pay special attention to serving sizes, so you buy enough ingredients to scale up the recipe if you’re making extra — or if you’re using ingredients across more than one recipe. If you’re not sure how much you need, this handy recipe converter can do the math for you.
There are different ways to create a shopping list, so choose the system that works best for you. Some of the ways I recommend are:
- Paper and pencil. Write things down the old fashioned way!
- Using a master list with pantry staples that you can add to depending on recipes. (You can print off a new one after each shopping trip and check the boxes when you run out of something.)
- Using your phone’s notes app. Or try a meal planning app. Many meal planning apps also have a shopping list option when you add recipes to your meal plan. Both BigOven and Mealime are good places to start because of their vast array of vegan, vegetarian, and plant-based recipe options.
Going Shopping
Once you have your list, it’s time to go shopping! Since you’ll likely be buying lots of fruits and vegetables, check for signs of spoilage on fresh produce before you buy. Avoid pieces with mold, soft and mushy spots, slimy bits, and bad smells. For fruit, look for pieces that aren’t completely ripe yet, unless you plan on eating them right away. If you’re buying pre-packaged produce, check the eat by date since you’ll be making meals that will last for a few days or more. It’s also a good idea to stock up on pantry staples for future meal preps. For tips on how to store food, so it lasts as long as possible, check out our article on food storage and preservation.
Step 4: Choose Your Prep Day
Once you have all the ingredients you need, it’s time to choose your prep day! For many people, Sundays are popular meal prep days since they mark the start of the week, but you can use whichever day works best for your schedule. Most people find doing meal prep once a week is plenty, and sets them up for success throughout the whole week to come.
If legumes or whole grains factor into your plans, you can do a little pre-prep, with some advance soaking. When you soak whole grains and legumes, you activate the enzyme phytase. Phytase then breaks down phytic acid — a compound that binds minerals like iron, calcium, and zinc. In effect, phytase releases minerals in whole grains and legumes, making them easier for your body to absorb.
In our home, we soak legumes for a few days, and grains for a day or two, before “prep time.” Just put beans or whole grains in a bowl, and cover them with a lot of water (at least three cups of water for every cup of beans or grains). Rinse and replace the water every 12 hours. The ideal method is to soak whole grains for one to two days, and legumes for one to three days (rinsing twice per day), before cooking. With every rinse of beans, you’ll be draining off oligosaccharides, which are a leading cause of flatulence. Bye-bye musical fruits!
Step 5: Prep Time!
Now that you have everything you need, you can start meal prepping. Get out all your ingredients and kitchen tools, turn on your favorite music, and get cooking!
It’s not necessary by any means, but for extra credit, match your playlist with the dish. Chef Bryant Terry, author of several plant-based cookbooks, including Vegetable Kingdom and Afro-Vegan, pairs recipes with songs that evoke the heritage and history of the dish and its ingredients. While I can’t prove that the music you listen to will influence the taste and nutritional quality of the meal you’re preparing, I strongly suspect that we have as-yet-undiscovered taste buds that can sense the presence of intention and love in our food. And even if I’m wrong, you’ll still have a good time cooking to music that moves you.
Prepping should focus on getting certain basic ingredients ready to roll for the week ahead. And if you like, you can also prepare full meals, in quantity. Having a few trays of vegan lasagna, or a big pot of soup in the fridge, can make the week a whole lot easier and more fun.
The following tips may help you boost efficiency and save time and money, but they’re possibilities, not rules. Use what you find most useful!
Prep
First things first, turn on anything that needs to pre-heat, such as a stove or slow cooker. Then, set up a chopping station on your counter so you can quickly and efficiently chop and prep fruits and vegetables.
For meals that include raw fruits or veggies, you can chop them up and keep them in separate containers until you’re going to eat them. This is an especially useful technique for smoothies. Then, when it’s blending time, you’ll just need to throw all the ingredients in a blender. The same goes for salads too. Just keep the dressing separate or put it in the bottom of the container to avoid soggy greens. If possible, slice and add avocados and tomatoes just before serving since they don’t last as long once cut.
Cook
The most important part of meal prepping is getting the staples in place. If nothing else, use a pot, Instapot, rice cooker, or slow cooker to cook some beans, whole grains, and/or veggies. Then, you’ll have them ready to use throughout the week, whenever you need them.
My family and I like to keep containers of cooked staples in the fridge. That way, we can mix and match with different portions of pre-cooked quinoa, millet, lentils, chickpeas, kale, cabbage, and carrots — along with a variety of sauces and condiments, for ready-to-go meals in a hurry.
For example, if you’ll be making the Sofritas Burrito Bowl recipe below, you could prepare the sauce and cook the rice in advance and store them next to the lettuce. When you’re ready to assemble the meal, reheat the sauce, steam the rice, add canned or pre-cooked beans, and top with lettuce and salsa. Alternately, you can cook whole meals at one time and store them ready to heat and eat.
Store
Most prepared ingredients and finished meals can be stored in either the fridge or freezer. In general, if you’re going to use an ingredient within a week, the fridge is best. For longer-term storage, the freezer is best. You’ll find that some foods, such as water-filled fruits and veggies, generally don’t do as well when frozen and are best off stored in the refrigerator, when possible.
The best foods and meals for freezer storage include: soups, stews, chilis, casseroles, baked pasta dishes, and burritos. If freezing liquids, leave space at the top for expansion. You may also find it useful to label containers with a label maker or sharpie with what’s inside and when it was frozen. You don’t want to keep putting a container of unidentified orange filling back in the freezer because you can’t remember if it’s mango sorbet, carrot soup, or pumpkin pie filling. Or if it’s from last month or the first Clinton administration!
Step 6: Enjoy Your Meals!
Now that you’ve done all the prep, you can enjoy the fruits (and vegetables) of your labor!
Most cooked meals can last up to 4 days in the refrigerator, while raw cut fruits and veggies can last anywhere from a few days to a week. Frozen meals, fruits, veggies, and sauces can last from three months to a year, depending on the ingredients. (For more tips on freezing food, check out this article.)
And just a quick note about food safety. The safest ways to reheat any of the cooked foods you’ve prepared is in the microwave, on the stovetop (including with a steamer basket), or in the oven. Whatever method you use, the internal temperature of previously cooked plant-based foods should reach 135°F to avoid potential bacterial contamination and foodborne illness.
5 Plant-Based Recipes that Make the Most of Meal Prep
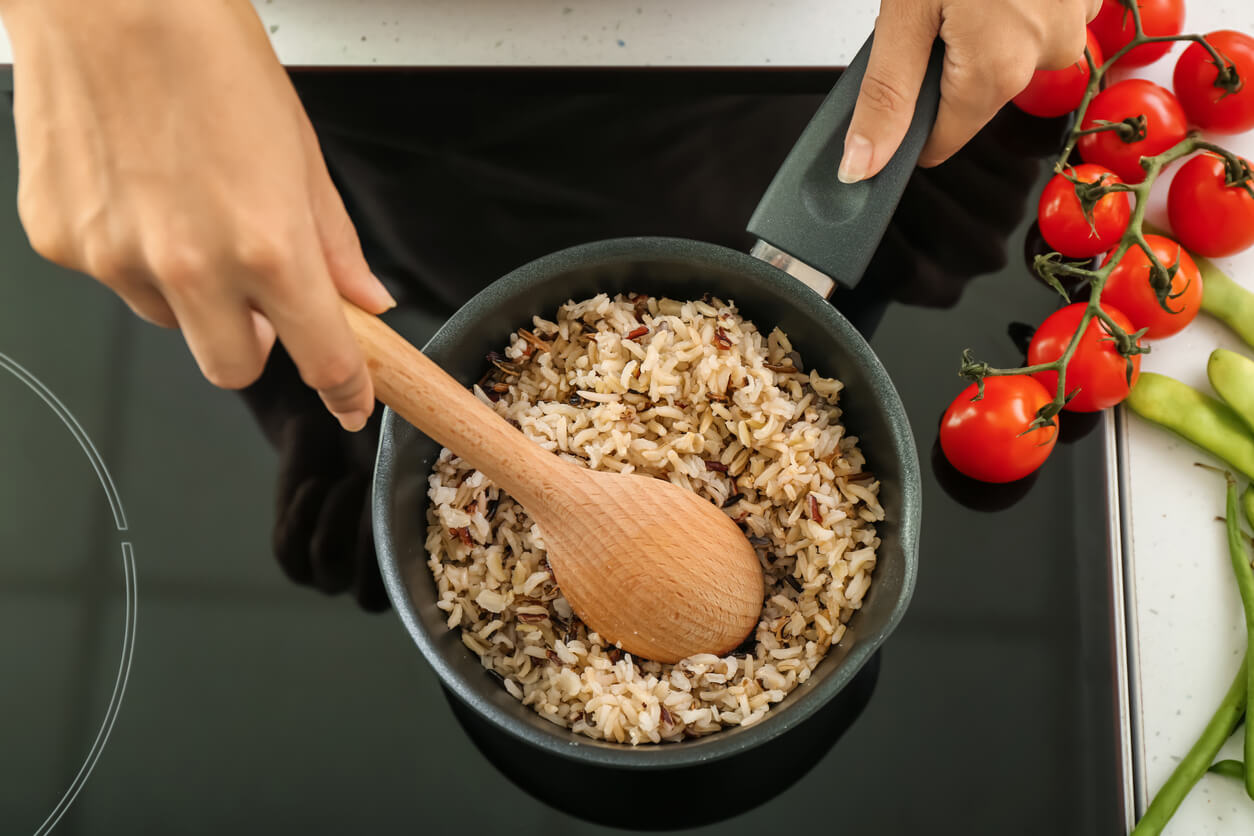
The recipes below are good examples of how cooking a large quantity of a main ingredient one day can create completely different (and delicious!) meals to enjoy all week long. Start by cooking up a batch of organic brown rice — two cups dry should yield approximately six cups cooked — which is a little more than what you’ll need. But better to have a little extra than not enough. Dive into the Sofritas Burrito Bowls when you want something super satiating; stay energized with the Brown Rice Lunch Bowl with 24-Carrot Gold Dressing; and, enjoy the Brown Rice Umami Burgers with the whole family. But first, make the Olive Tapenade, and enjoy it as a snack or starter throughout the week!
1. Olive Tapenade
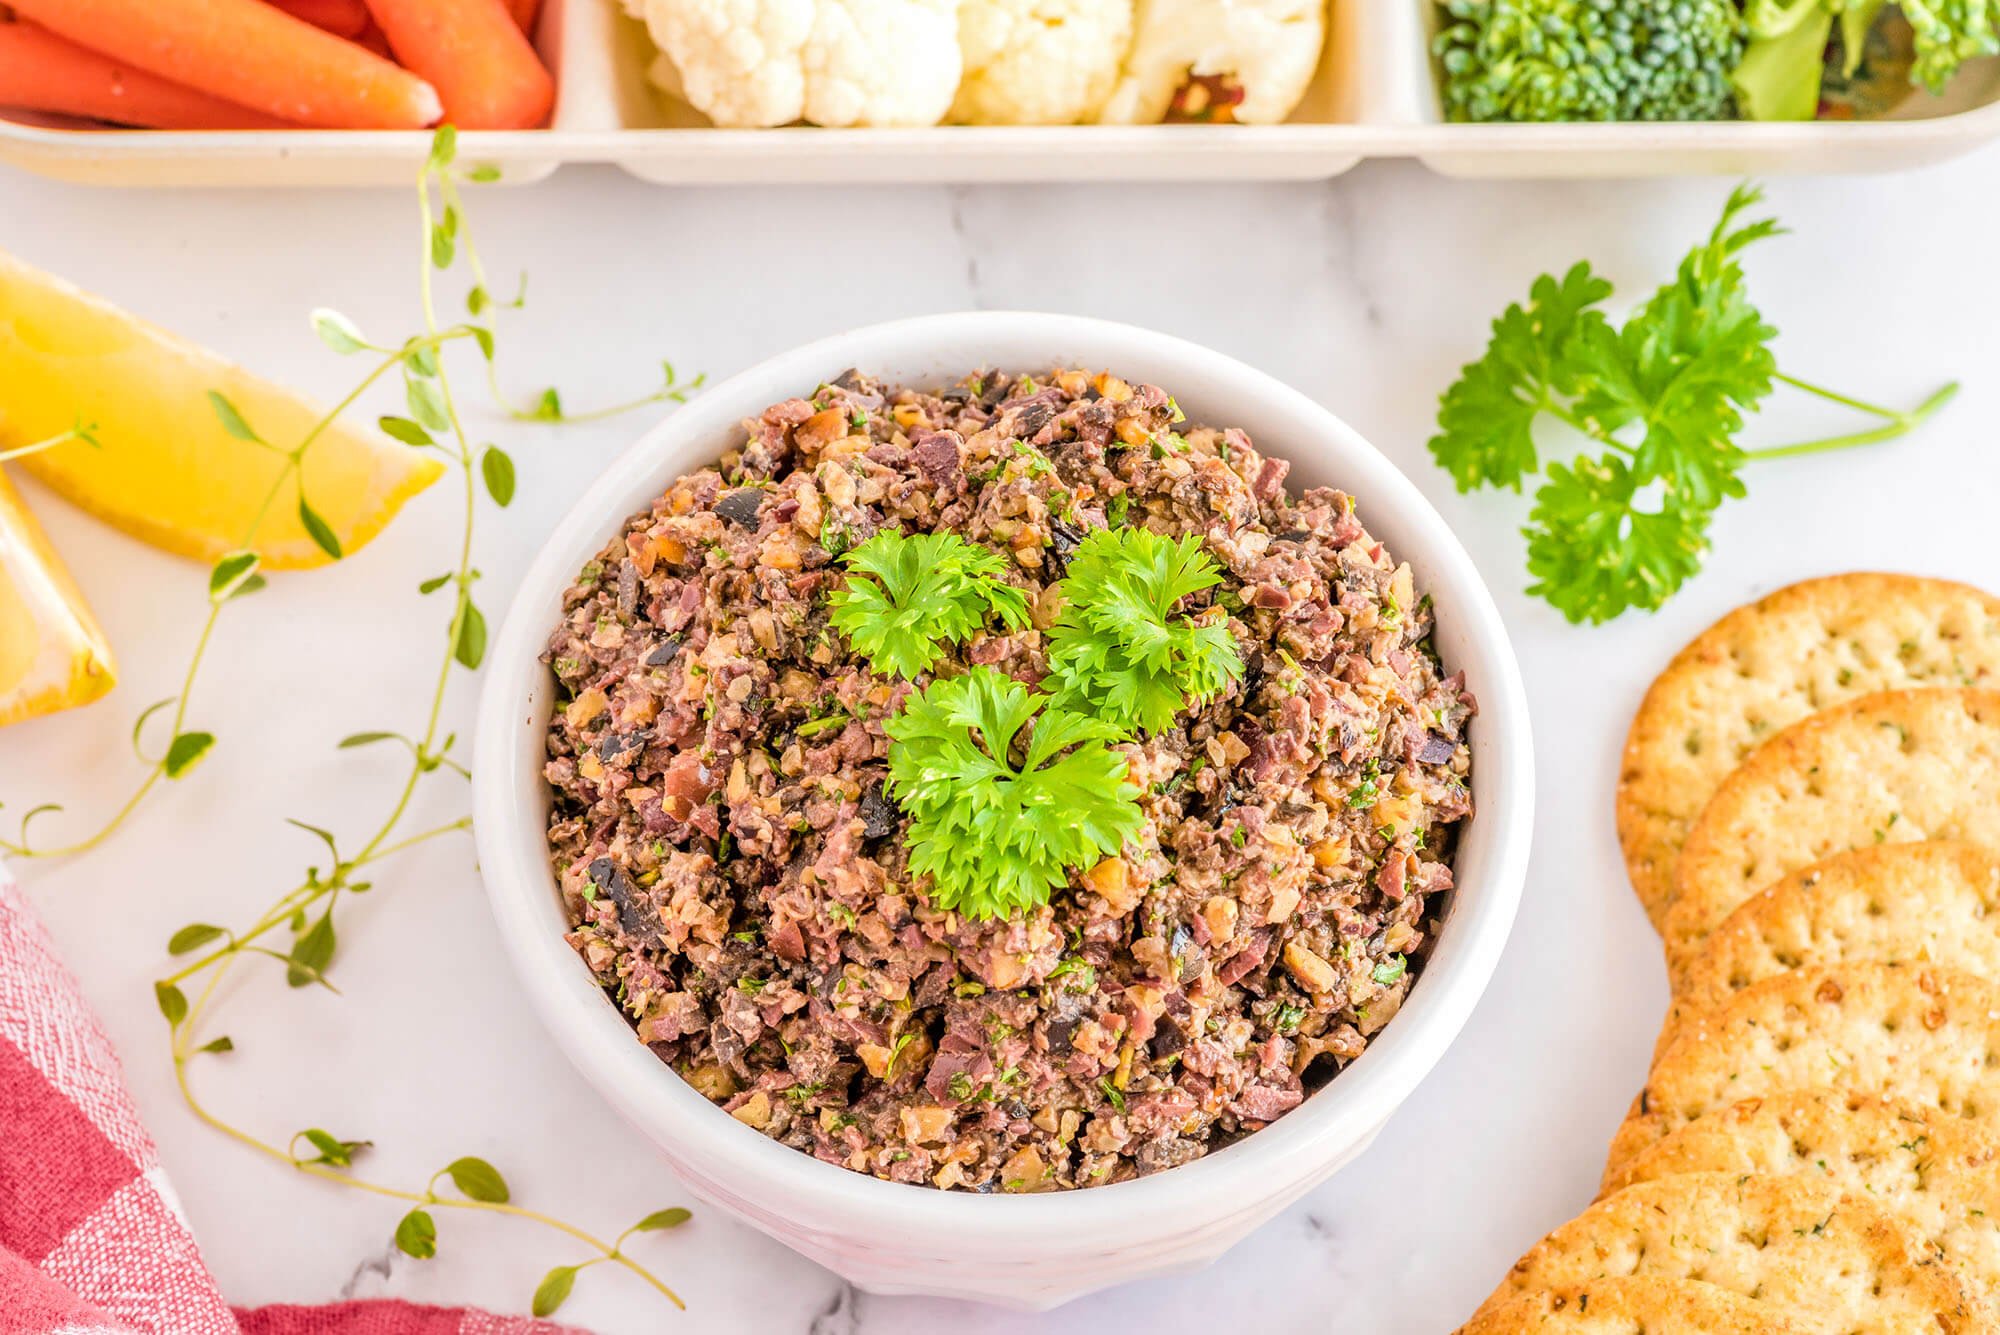
Our flavorful, plant-based tapenade is packed with healthy monounsaturated fats from the olives and healing omega-3 fatty acids from the walnuts. It’s the perfect spread for helping your brain and body stay energized and happy throughout the week.
2. Sofritas Burrito Bowls
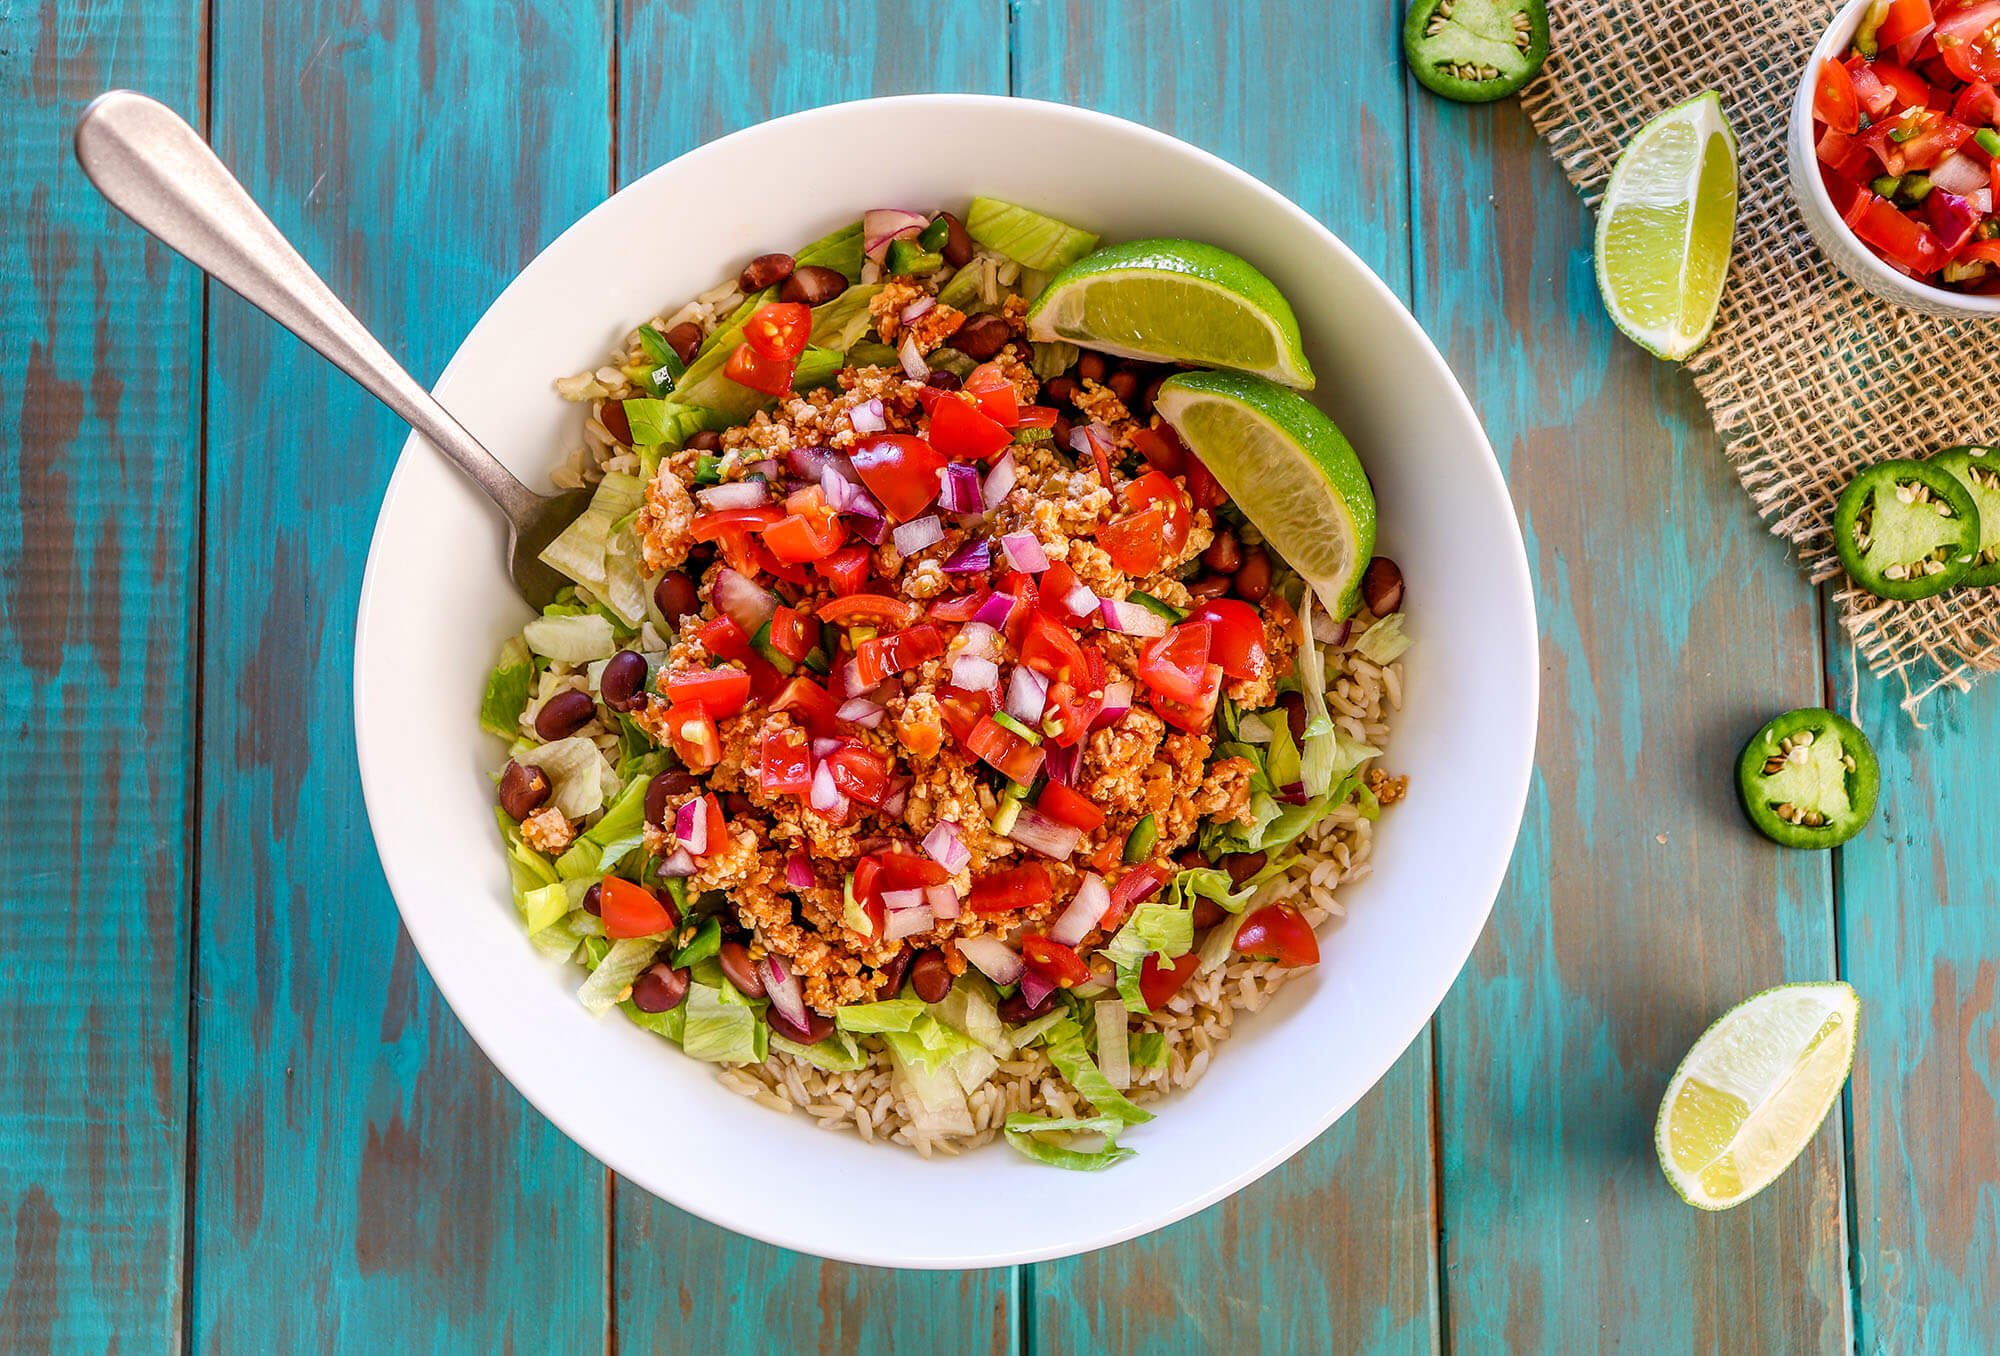
Beans and rice might just be the quintessential prep-ahead combo. Now, you can make a healthy version of the current fast-food favorite in the comfort of your own kitchen. This homemade bowl is packed with phytonutrient-rich veggies, organic tofu, and organic brown rice. It’s super easy to create once that rice is made and ready-to-go!
3. Brown Rice Lunch Bowl with 24-Carrot Gold Dressing
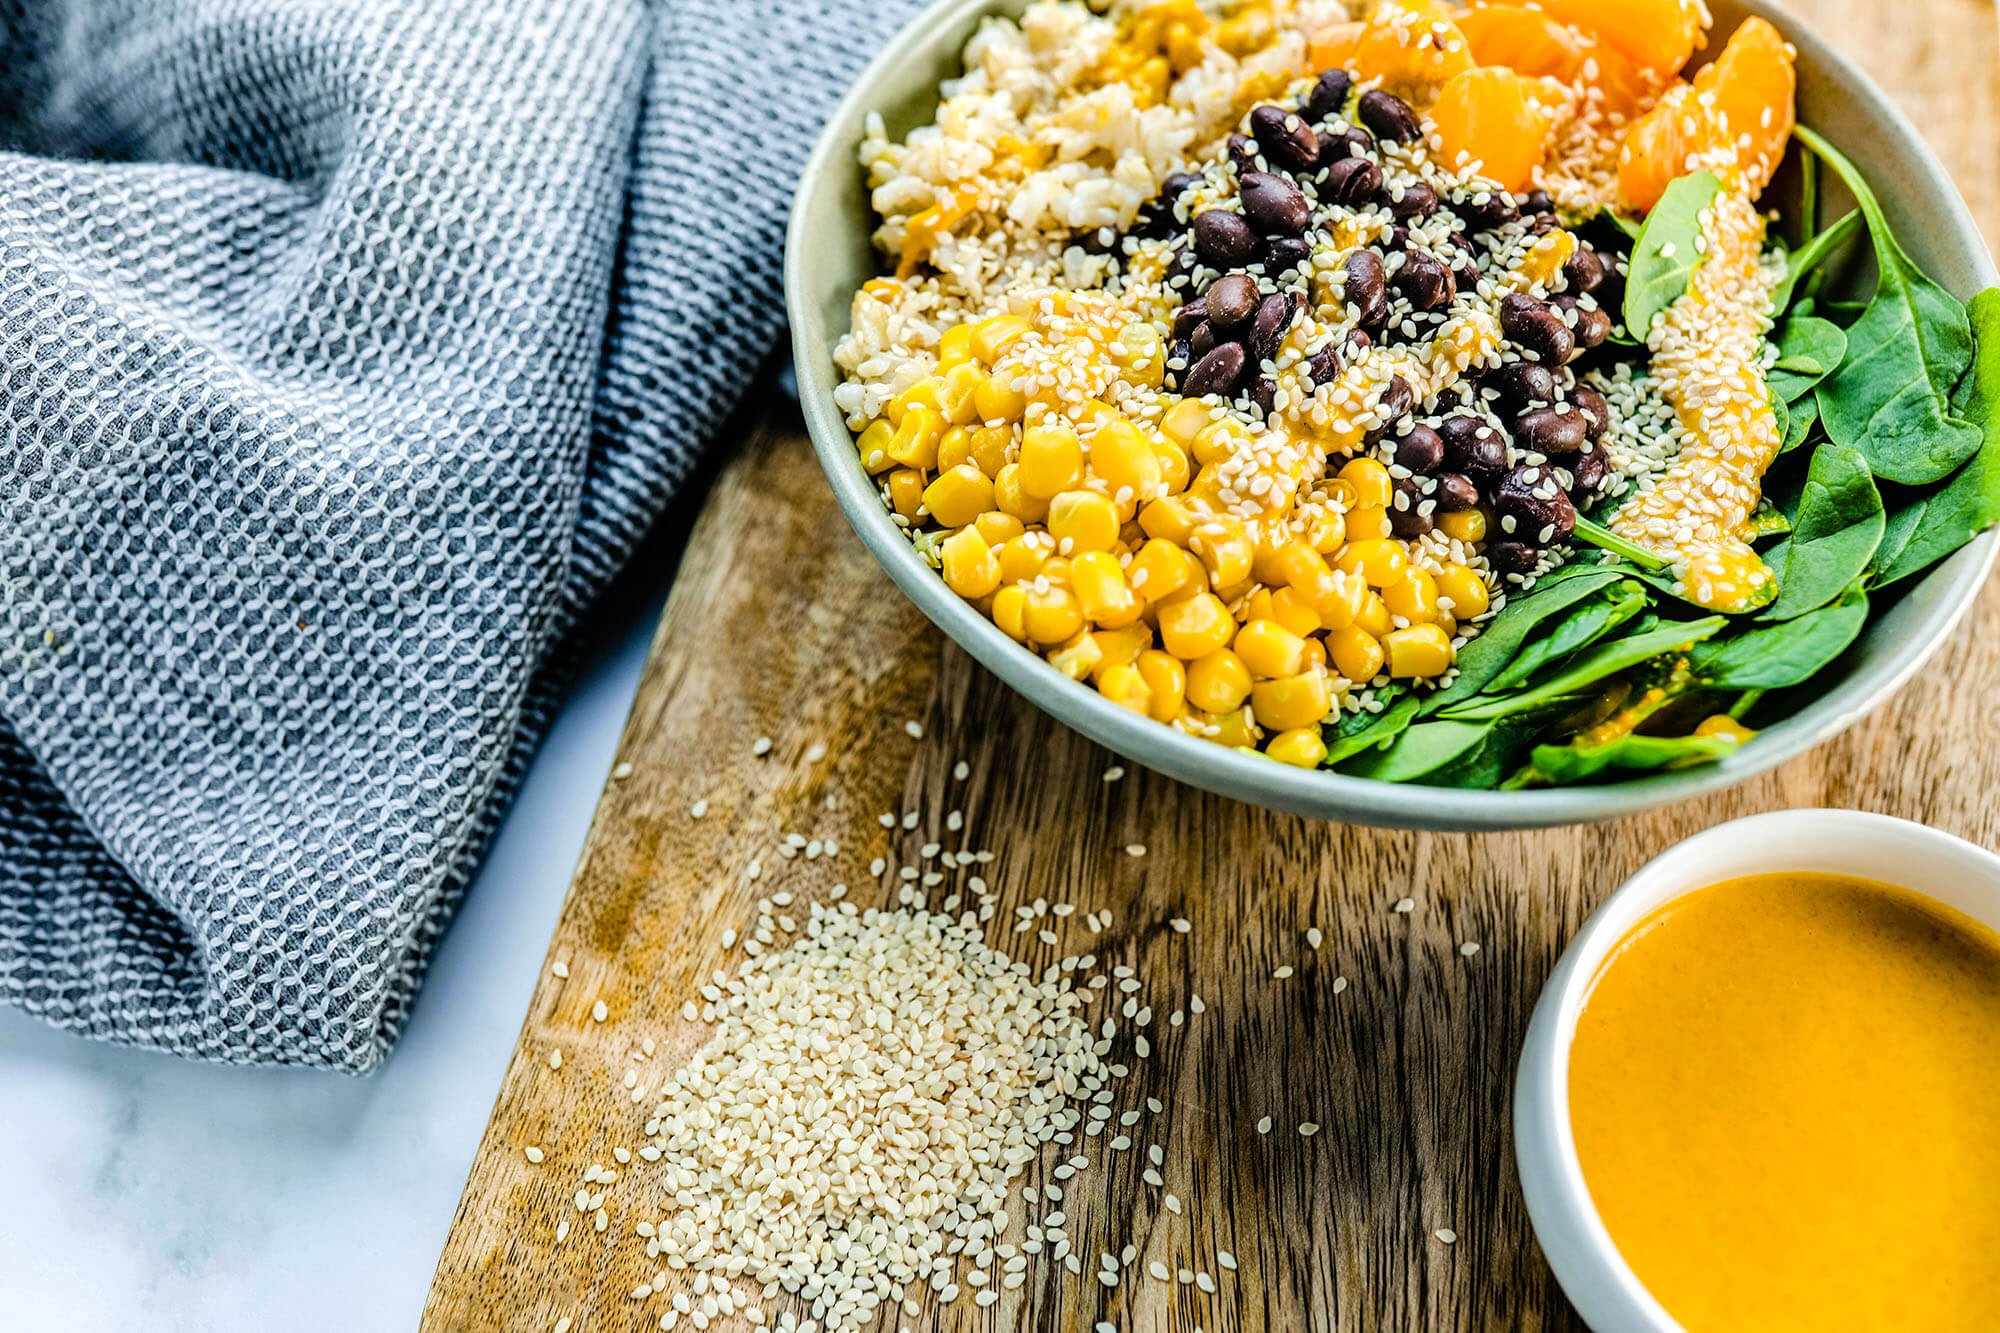
Grain bowls are one of the easiest ways to prepare a nourishing and tasty meal once the ingredients are ready to go. To make a plant-powered bowl, start with the rice that you’ve made for the week as the base. Then, add colorful vegetables from your refrigerator as well as some plant proteins like beans, nuts, or seeds. Finally, top it off with a creamy dressing like the 24-Carrot Gold Dressing. You might just find yourself wondering if you’re dining at home — or at your favorite plant-based restaurant!
4. 24-Carrot Gold Dressing
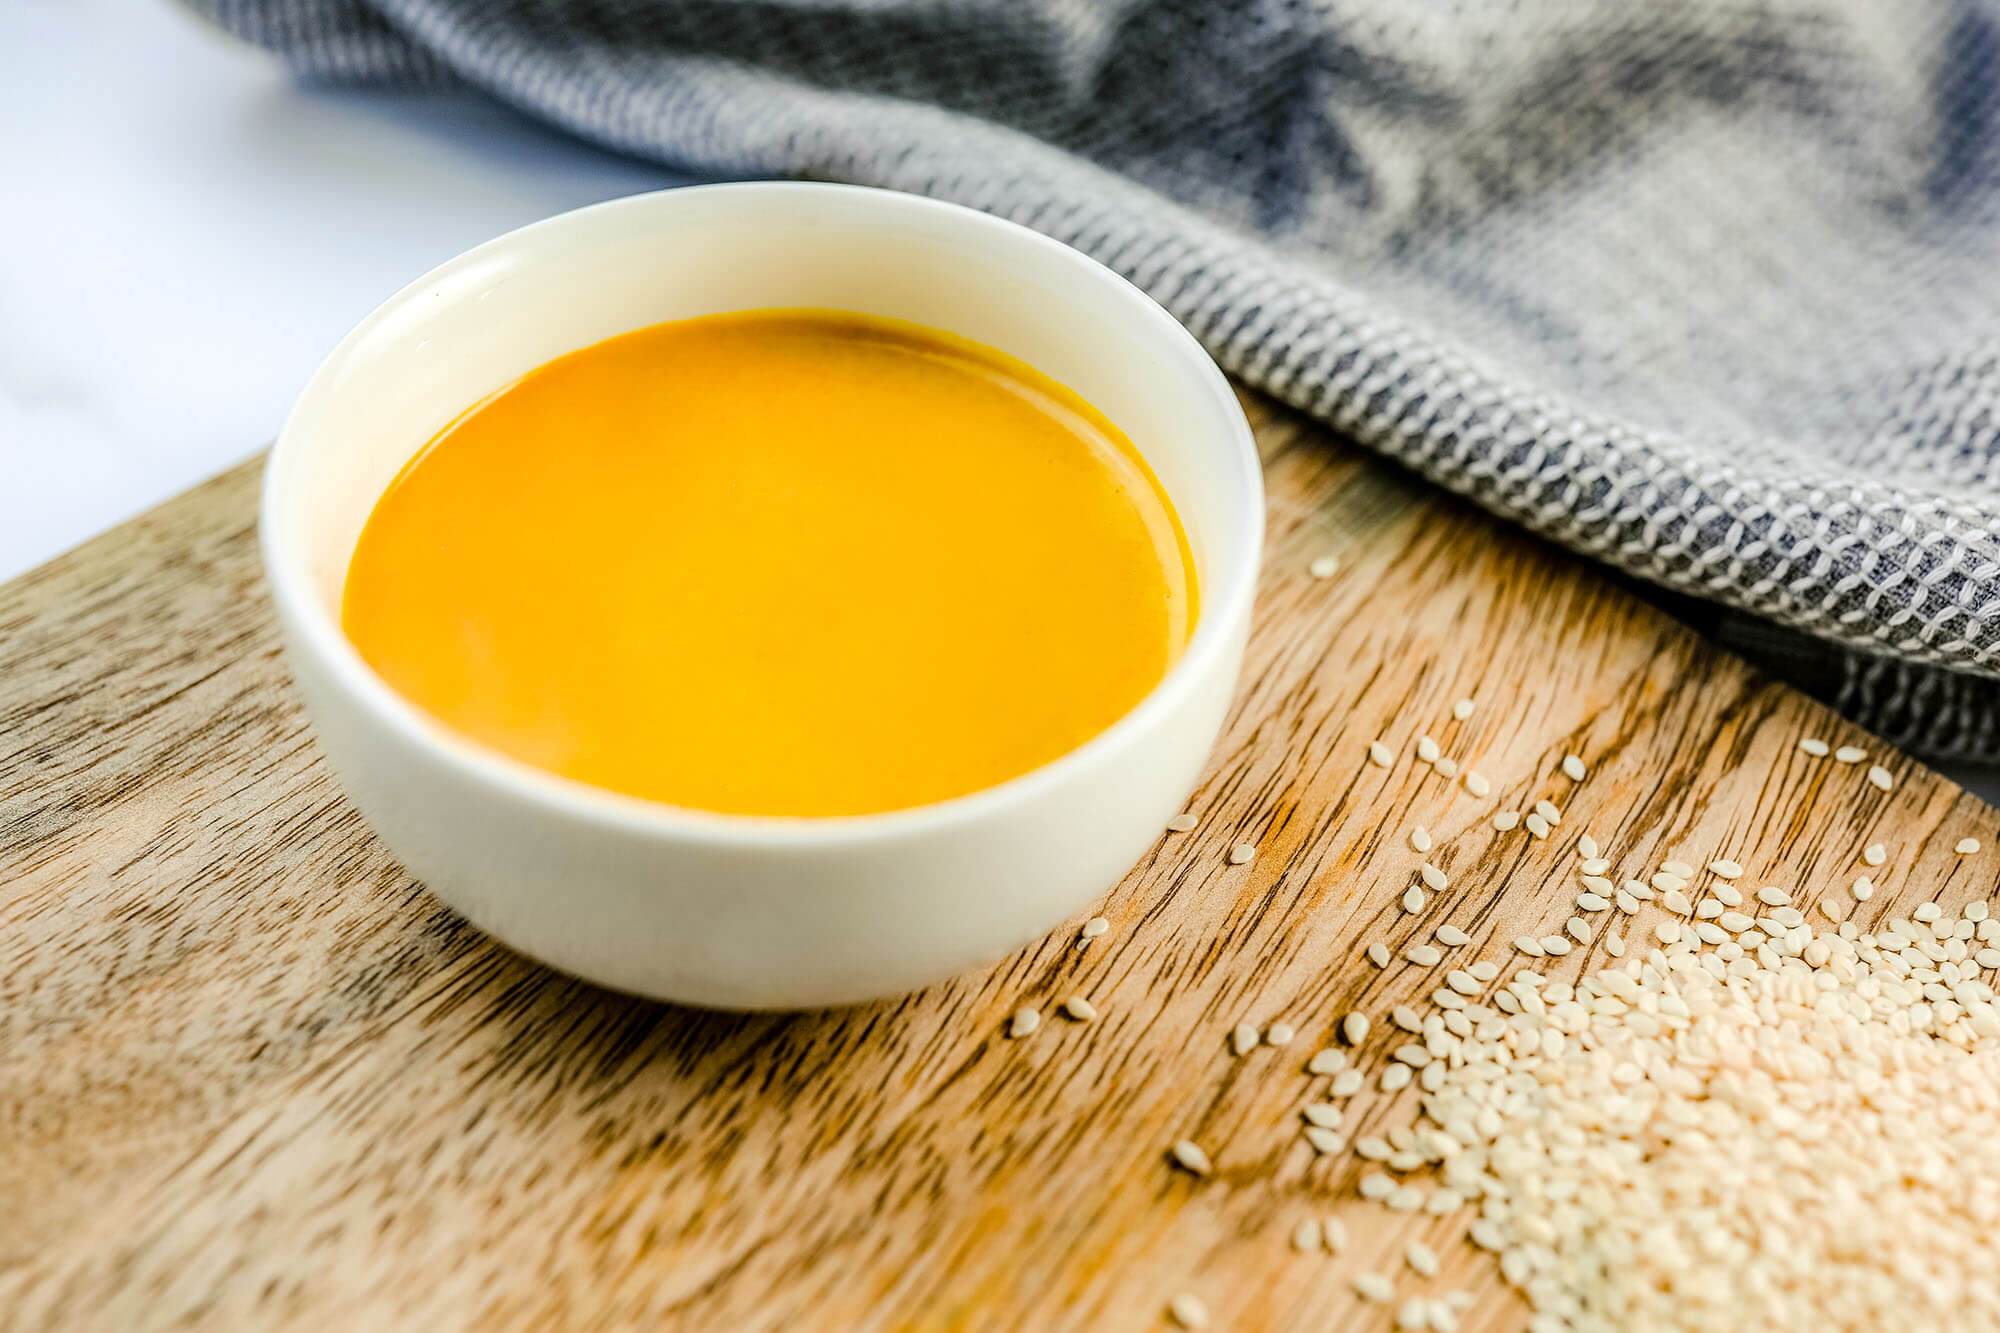
Pro-tip from grain bowl enthusiasts — make a batch or two of grains for the week, pre-cut your veggies, and always have two to three dressings on hand. You’ll be grateful for those sauces when it comes to making a quick and easy dinner. This dressing is perfect for salads, steamed vegetables, grilled tempeh, or on top of the Brown Rice Lunch Bowl!
5. Brown Rice Umami Burger
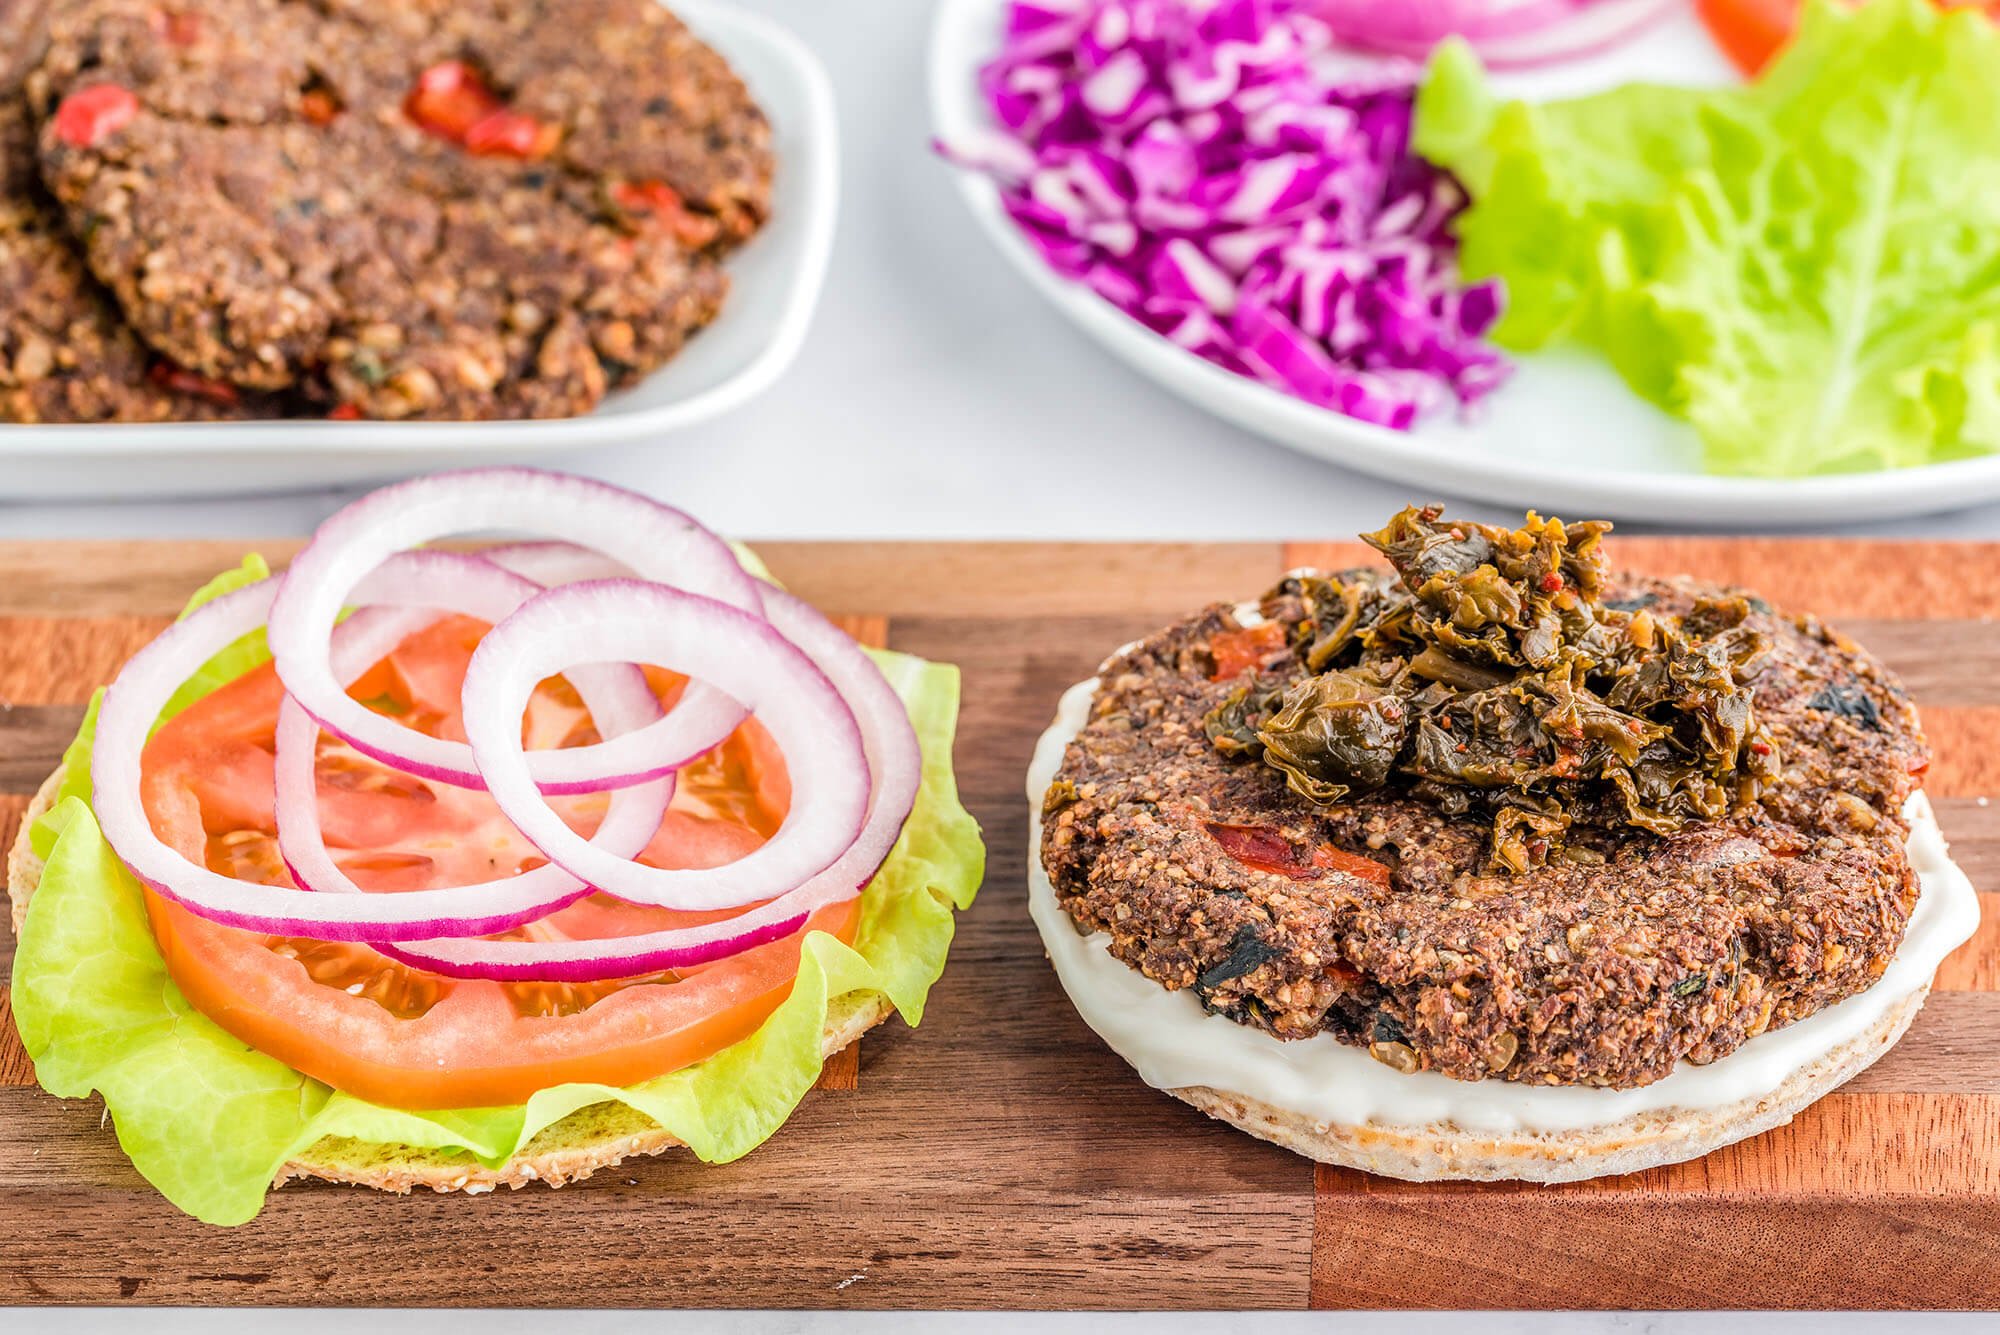
Is there anything rice can’t do? Add it to curry dishes, use it in a grain bowl, and, now, make it into a hearty veggie burger! Rice, flax meal, and walnuts help to keep this burger together, making it grillable and hearty. Rice also adds abundant B vitamins, magnesium, and fiber. Bye-bye beef burgers; hello plants! Enjoy them throughout the month by making extra, placing parchment paper in between each burger, transferring them to a freezer-safe container, and freezing them until you’re ready to enjoy!
Get Prepping!
Meal prepping takes the stress out of everyday cooking and decision-making. With effective meal prep, you’ll have a plan and the tools you need to implement it with ease. No matter how busy the week becomes, you can still have a nutritious, plant-powered meal ready in a matter of minutes — for the whole clan, or just you. It’s also an effective way to save yourself time, energy, and money on a plant-based diet while allowing you to eat more nutritiously and deliciously. I hope you found this guide useful, whether you’re a meal prep beginner or seasoned expert.
Tell us in the comments:
- Do you meal prep? Or will you give it a try now that you have this guide?
- What are some of your favorite recipes for vegan or plant-based meal prepping?
- What are some other meal prep tricks you like to use?
Feature image: iStock.com/fortyforks
